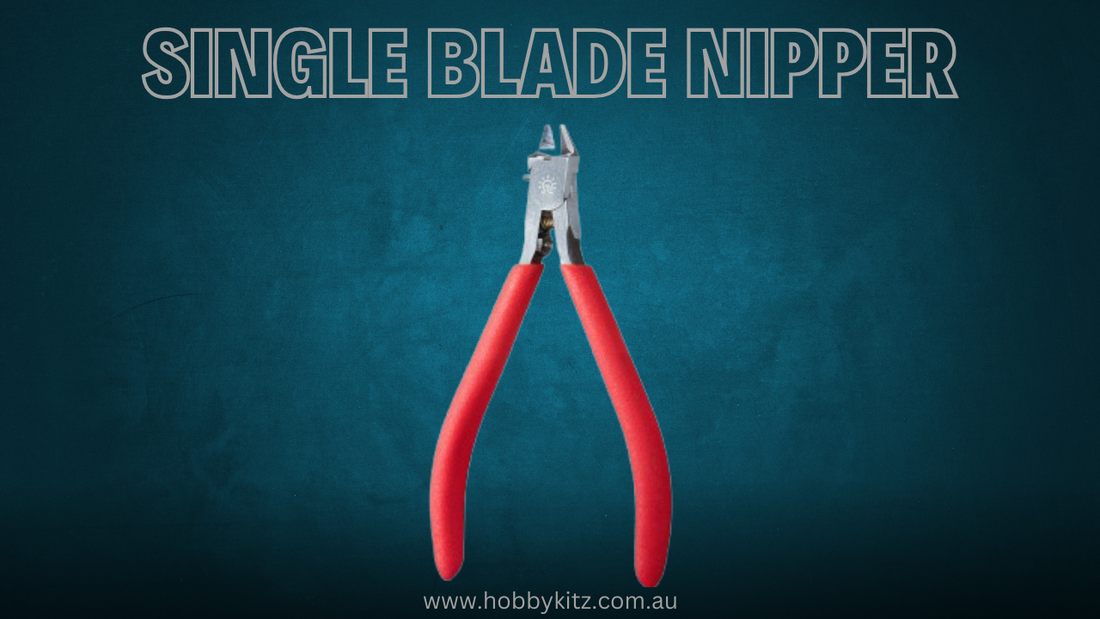
How to Use a Single Blade Nipper
Share
When building Gundam model kits (Gunpla) or other plastic model kits, precise and clean cuts are essential for achieving a professional look. A single blade nipper is an invaluable tool for hobbyists, offering unparalleled precision and minimizing stress marks on plastic parts. However, using it correctly is crucial to maximize its effectiveness and prolong its lifespan.
In this guide, we’ll walk you through how to use a single blade nipper properly, including tips, techniques, and maintenance advice for the best results.
What Is a Single Blade Nipper?
A single blade nipper is a specialized cutting tool designed for plastic model kit building. Unlike double-bladed nippers that shear plastic from both sides, single blade nippers use a single sharp edge against a flat surface, delivering a cleaner, more precise cut.
Benefits of Single Blade Nippers
- Minimal Stress Marks: Reduces white stress marks on plastic parts.
- Precision Cutting: Ideal for delicate parts and detailed work.
- Smooth Edges: Leaves minimal excess plastic, reducing sanding needs.
Popular single blade nippers include the God Hand SPN-120 and similar high-quality models from trusted brands.

Step-by-Step Guide to Using a Single Blade Nipper
1. Choose the Right Nipper
Before starting, ensure you’re using a high-quality single blade nipper. Look for a model with sharp edges, ergonomic handles, and a design suited for plastic model kits.
2. Prepare Your Work Area
A clean, well-lit workspace ensures you can see fine details clearly. Have a cutting mat, hobby knife, and sanding tools nearby for additional trimming and smoothing.
3. Position the Runner
Place the runner (the plastic frame holding the parts) on a stable surface. Hold it securely to prevent movement while cutting.
4. Identify the Cutting Point
Locate the gate—the thin plastic connector between the part and the runner. Carefully plan your cuts to avoid damaging the part.
5. Make the Initial Cut
- Step 1: Use the nipper to make a rough cut, leaving 1–2mm of the gate attached to the part. This prevents stress marks or cracks.
- Step 2: Hold the nipper with the flat side of the blade facing the part. Align the blade edge with the gate.
6. Perform the Final Cut
Once the part is separated from the runner, use the nipper to trim the remaining gate as close to the part as possible.
- Cut slowly and steadily to maintain precision.
- Avoid applying excessive force to prevent damaging the blade.
7. Inspect and Smooth the Edges
After cutting, inspect the part for any rough edges or remaining plastic. Use a hobby knife or sanding sponge to smooth out imperfections for a flawless finish.
Tips for Using Single Blade Nippers
-
Cut in Two Stages
Always make an initial rough cut before trimming the gate flush with the part. This technique minimizes stress on the plastic. -
Hold the Nipper Correctly
Grip the nipper firmly but not tightly to maintain control. Ensure the flat side is always facing the part for clean cuts. -
Work Slowly and Precisely
Avoid rushing through cuts, especially with intricate or delicate parts. A steady hand ensures better results. -
Avoid Cutting Metal or Thick Plastic
Single blade nippers are designed for thin plastic parts. Cutting materials beyond their capacity can dull or damage the blade. -
Practice on Spare Runners
If you’re new to using a single blade nipper, practice on spare runners or leftover plastic to gain confidence.
Maintaining Your Single Blade Nipper
Proper maintenance extends the lifespan of your nipper and ensures consistent performance.
1. Clean After Every Use
Remove plastic debris from the blade and handles after each session. Use a soft cloth or brush to clean the tool gently.
2. Avoid Overuse
Limit use to plastic model kits and avoid cutting harder materials that could damage the blade.
3. Store Properly
Store your nipper in a protective case or sleeve to prevent accidental damage. Keep it in a dry, cool place away from moisture.
4. Sharpen When Needed
If your nipper becomes dull over time, some models can be sharpened professionally. However, many hobbyists prefer to replace the tool for optimal performance.

Why Use a Single Blade Nipper?
For hobbyists who want professional-level results, a single blade nipper is an indispensable tool. Its precise cuts and ability to minimize stress marks make it ideal for building Gunpla, scale models, and other plastic kits.
Key Advantages:
- Reduces the need for extensive sanding or trimming.
- Protects delicate parts from cracking or breaking.
- Saves time during assembly while enhancing the overall finish.
Frequently Asked Questions
1. Can I use single blade nippers for other materials?
Single blade nippers are specifically designed for plastic model kits. Avoid using them on metal, thick plastic, or other hard materials to prevent damage.
2. Are single blade nippers worth the price?
While single blade nippers can be more expensive than standard nippers, their precision and performance justify the cost, especially for serious hobbyists.
3. What should I do if my nipper blade becomes dull?
Some single blade nippers can be sharpened by professionals. However, replacing the tool may be more cost-effective in most cases.
Conclusion
Using a single blade nipper is a game-changer for model builders, providing clean cuts, minimal stress marks, and an overall smoother assembly process. By following the tips and techniques in this guide, you’ll be able to make the most of this essential tool and elevate your Gunpla building experience.
Whether you’re a beginner or an experienced hobbyist, mastering the use of a single blade nipper will ensure your models look polished and professional.
