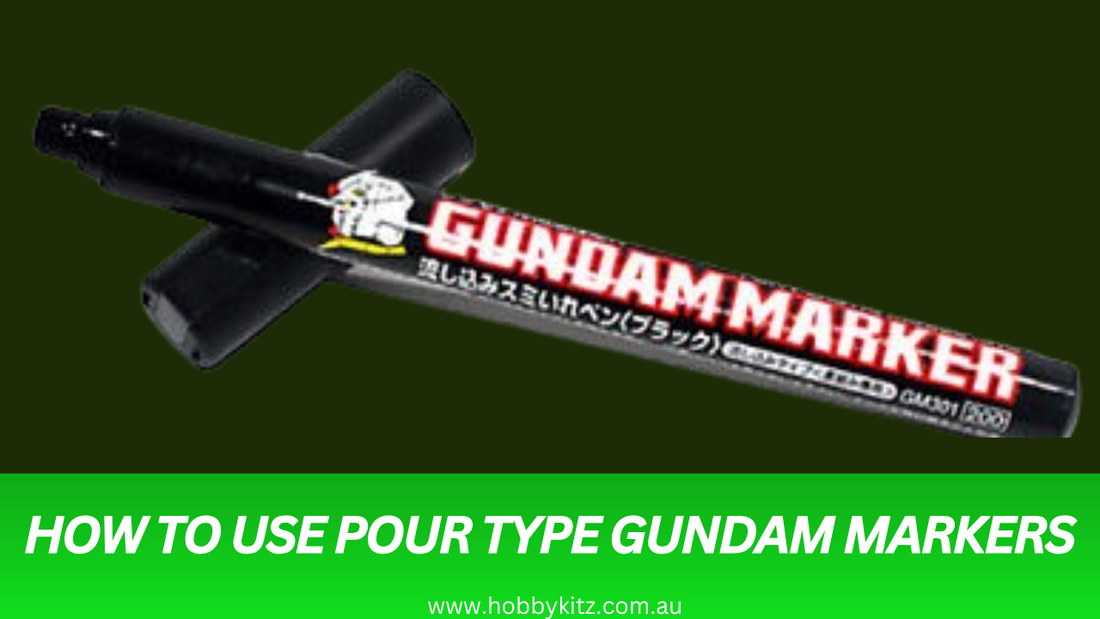
How to use pour type Gundam markers
Gundam markers are a staple in the world of Gunpla (Gundam plastic model kits), helping hobbyists bring their builds to life with detailed panel lining, shading, and customization. Among the different types of Gundam markers available, pour type Gundam markers stand out for their ease of use and ability to achieve precise, professional-grade panel lines.
This comprehensive guide will walk you through what pour type Gundam markers are, how to use them effectively, and some tips for achieving the best results on your Gunpla projects.
What Are Pour Type Gundam Markers?
Pour type Gundam markers are specifically designed for panel lining. Unlike regular markers, they have a fine tip and dispense thin, highly pigmented ink that flows smoothly into the recessed lines of your Gunpla model.
The term "pour type" refers to how the ink flows (or "pours") into the panel lines through capillary action, making it an excellent tool for creating sharp, clean details with minimal effort.
Why Use Pour Type Gundam Markers?
- Precision: They are ideal for highlighting engraved details and intricate panel lines.
- Ease of Use: Designed for beginners and professionals alike, they simplify the panel lining process.
- Time-Saving: Unlike traditional washes or paints, these markers are quicker and cleaner to use.
- Versatility: Available in various colors, such as black, gray, and brown, to suit different model colors and styles.

Materials Needed
Before you begin using pour type Gundam markers, gather the following materials:
- Pour Type Gundam Marker (e.g., GM01 Black, GM02 Gray, GM03 Brown).
- A clean, assembled Gunpla model with a matte, glossy, or semi-glossy topcoat.
- Cotton swabs or Q-tips.
- Paper towels or a soft cloth.
- Eraser or Gundam Marker Remover (optional, for cleaning excess ink).
- Clear topcoat spray (optional, to seal the panel lines).
How to Use Pour Type Gundam Markers
Follow these step-by-step instructions to get the best results with your pour type Gundam marker:
Step 1: Prepare Your Gunpla Model
- Ensure that your Gunpla model is fully assembled and clean.
- Apply a clear gloss or semi-gloss topcoat to the model before panel lining. Glossy surfaces make it easier for the marker ink to flow and reduce the risk of smudging.
Pro Tip: If your Gunpla has a matte finish, the ink may spread unevenly or stain the surface. A gloss coat will help prevent this.
Step 2: Shake the Marker
- Before using the marker, shake it thoroughly to mix the pigment. You’ll hear a small ball inside the marker moving as you shake—this ensures the ink is well-mixed for smooth application.
Step 3: Apply the Marker to Panel Lines
- Hold the marker like a pen and gently touch the tip to one end of a panel line.
- The ink will flow into the recessed line through capillary action. Allow the marker to do most of the work—there’s no need to draw along the entire line manually.
- Repeat this process for all the panel lines you want to enhance.
Pro Tip: Work in small sections to avoid overloading the panel lines with ink.
Step 4: Clean Excess Ink
- Once the ink is dry (wait 1–2 minutes), use a cotton swab or Q-tip to gently wipe away any excess ink around the panel lines.
- For stubborn stains or smudges, lightly dampen the cotton swab with Gundam Marker Remover or a small amount of isopropyl alcohol. Be careful not to remove ink from the panel lines themselves.
Pro Tip: Always wipe in the direction of the panel line to avoid spreading the ink further.
Step 5: Seal Your Work
- After panel lining, apply a clear topcoat to protect your work and give the model a uniform finish.
- Choose between matte, semi-gloss, or gloss topcoats depending on your desired final look.

Tips for Using Pour Type Gundam Markers
- Start with Light Colors: Use gray or brown markers for white or light-colored parts, and black markers for darker parts. This prevents overly harsh contrasts.
- Test Before Applying: Always test the marker on a spare piece or inconspicuous area of your model to get a feel for the flow and color.
- Use Sparingly: Pour type markers are designed for precision. A small amount of ink goes a long way, so avoid over-applying.
- Work in Sections: Focus on one area at a time to prevent smudging and ensure accuracy.
- Practice Patience: Allow each section to dry before moving on to clean or apply topcoats.
Common Panel Lining Mistakes and Solutions
1. Overfilling Panel Lines
Mistake: Applying too much ink can cause it to spill over the edges.
Solution: Use a light touch and let the ink flow naturally.
2. Smudging the Surface
Mistake: Wiping the excess ink too soon can cause smudges.
Solution: Wait a minute or two for the ink to dry slightly before cleaning.
3. Uneven Flow
Mistake: Ink may not flow evenly if the marker tip is dry or clogged.
Solution: Shake the marker well before use and test the flow on a spare piece.
4. Staining Matte Surfaces
Mistake: Applying ink directly to matte or uncoated plastic can leave stains.
Solution: Always apply a gloss or semi-gloss topcoat before panel lining.
Why Choose Pour Type Gundam Markers?
Pour type Gundam markers are a game-changer for panel lining, offering a clean and professional finish with minimal effort. Whether you're a beginner or an experienced builder, these markers save time and eliminate the need for advanced techniques like washes or masking.
Conclusion
Using pour type Gundam markers is one of the easiest and most effective ways to enhance your Gunpla builds. With a little practice and patience, you can achieve clean, precise panel lines that add depth and realism to your models. Follow the steps and tips outlined in this guide, and you'll be well on your way to mastering the art of panel lining.
Happy building, and may your Gunpla stand out with stunning details!